General
Install Kali – Raspberry Pi
Refer:https://null-byte.wonderhowto.com/how-to/build-beginner-hacking-kit-with-raspberry-pi-3-model-b-0184144/
Step 1: Install re4son-stickyfinger kali
Download & Flash Kali Linux to the SD Card
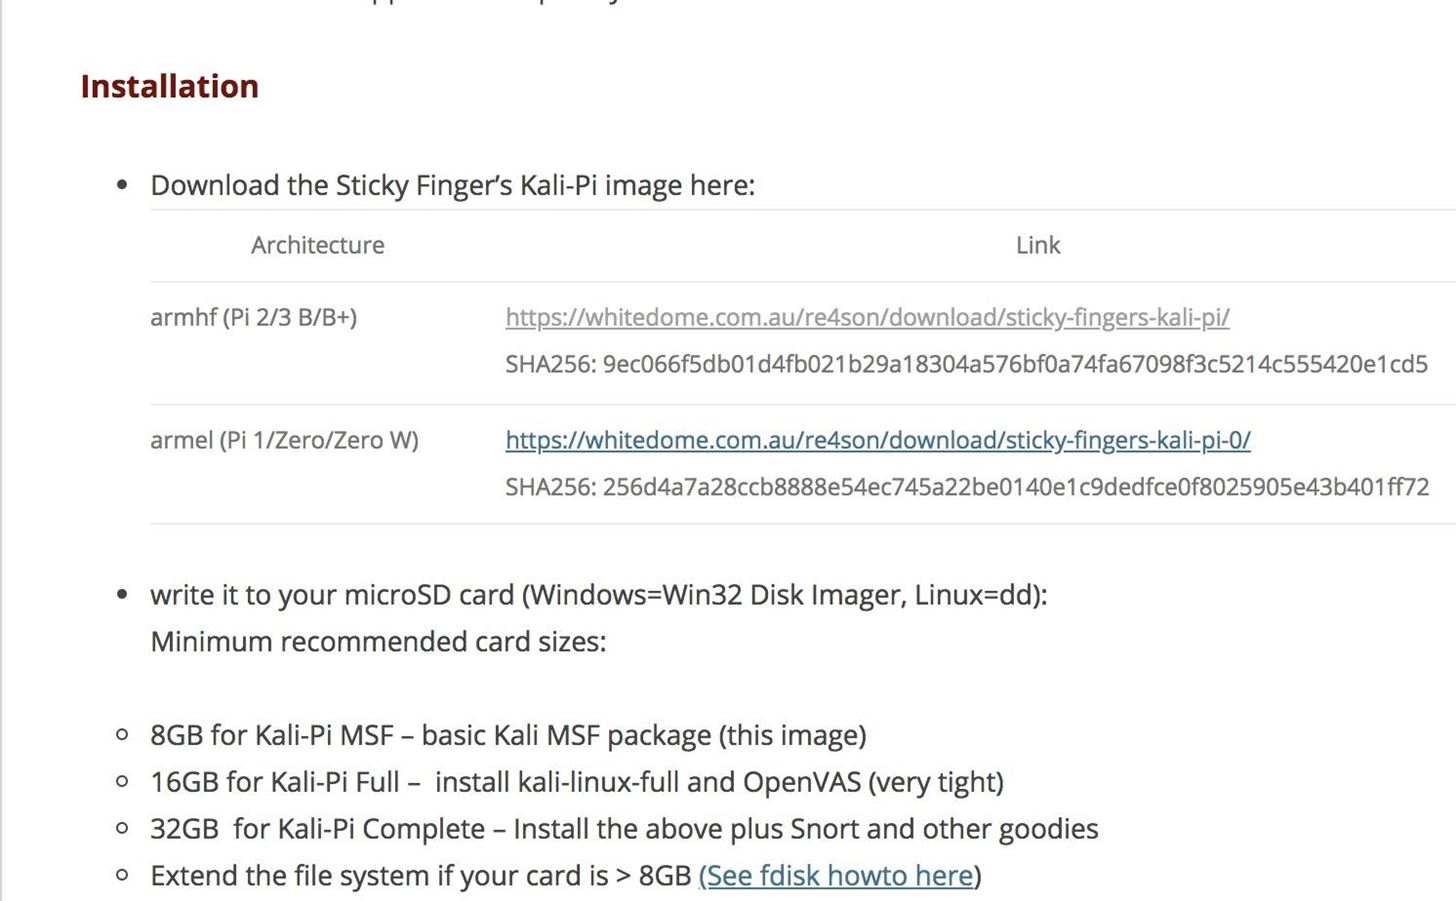
Now we will need a piece of software called etcher to write the image onto our SD card and USB Storage device.
Step 2: Check for updates
It is always a good idea to check for updates even if it is a freshly installed OS.
$ sudo apt-get update
$ sudo apt-get upgrade
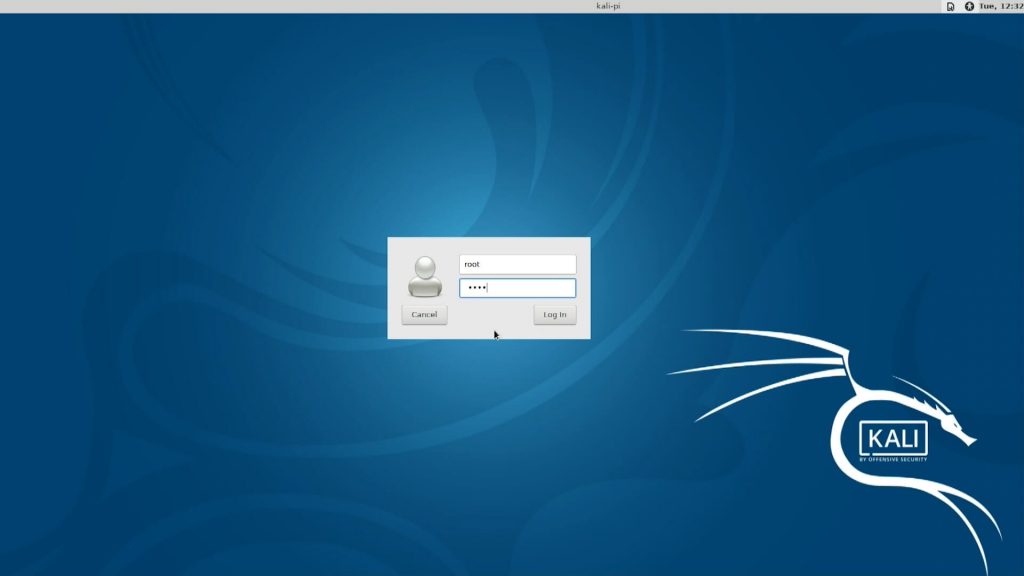
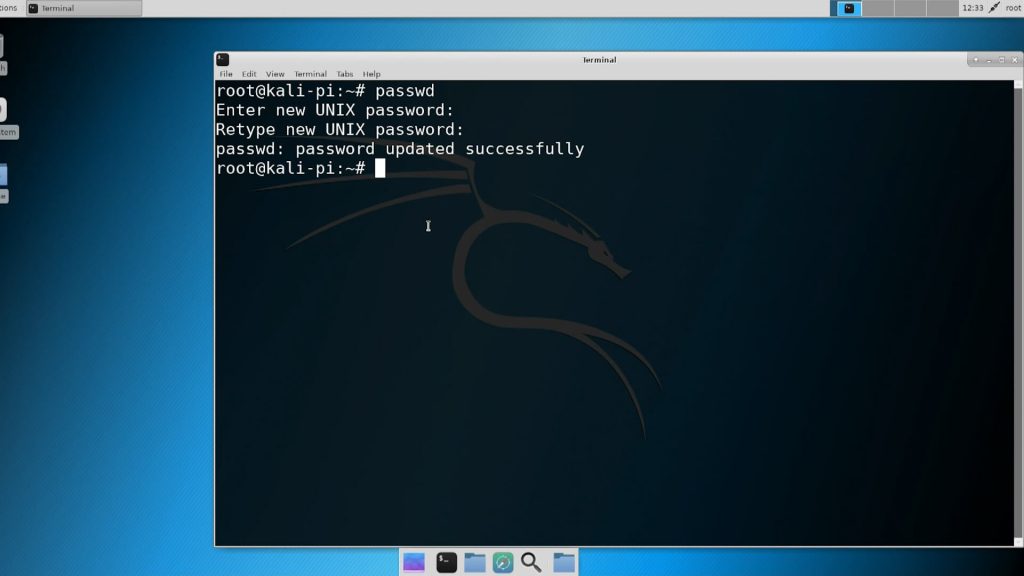
Step 3: CHANGE your password!!
The default username and password for any KALI linux install is “root” password “toor” and this is something you must change
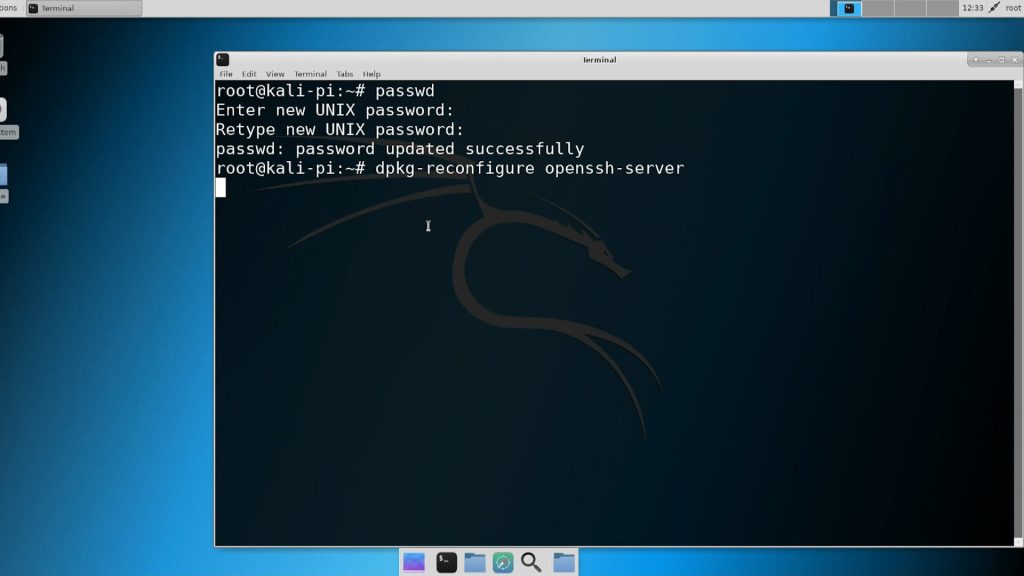
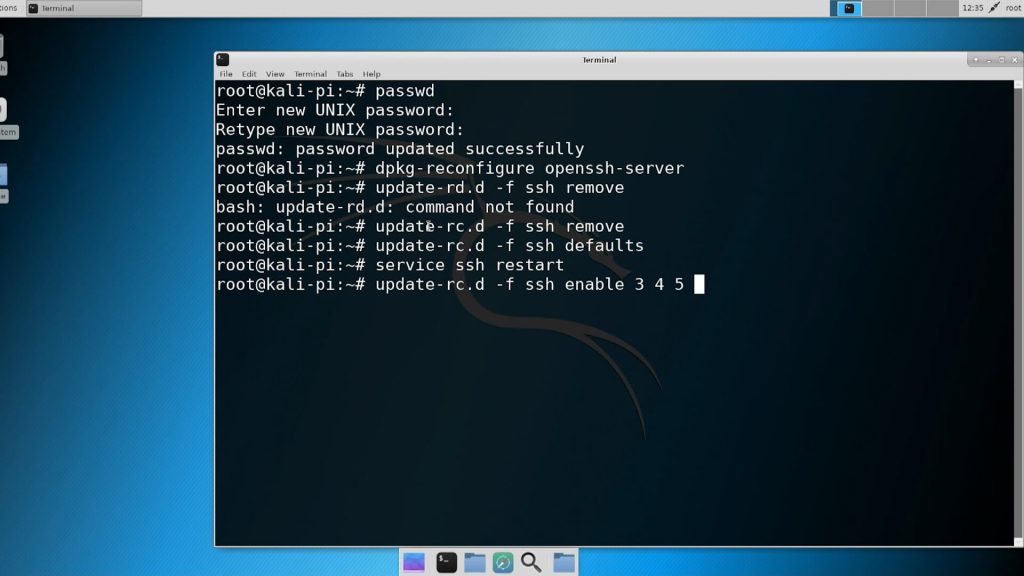
# passwdwe should also change the pregenerated ssh keys as well
# dpkg-reconfigure openssh-serverStep 4: Auto Login with SSH enabled
This is no required but if you want to be able to remote access your Raspberry Pi via ssh you can perform these steps below.
these following command well removed the old settings for ssh in theboot up process and setup ssh to boot on runtime level 3, 4, and 5.
# update-rc.d -f ssh remove 5
# update-rc.d -f ssh defaults
# service ssh restart
# update-rc.d -f ssh enable 3 4
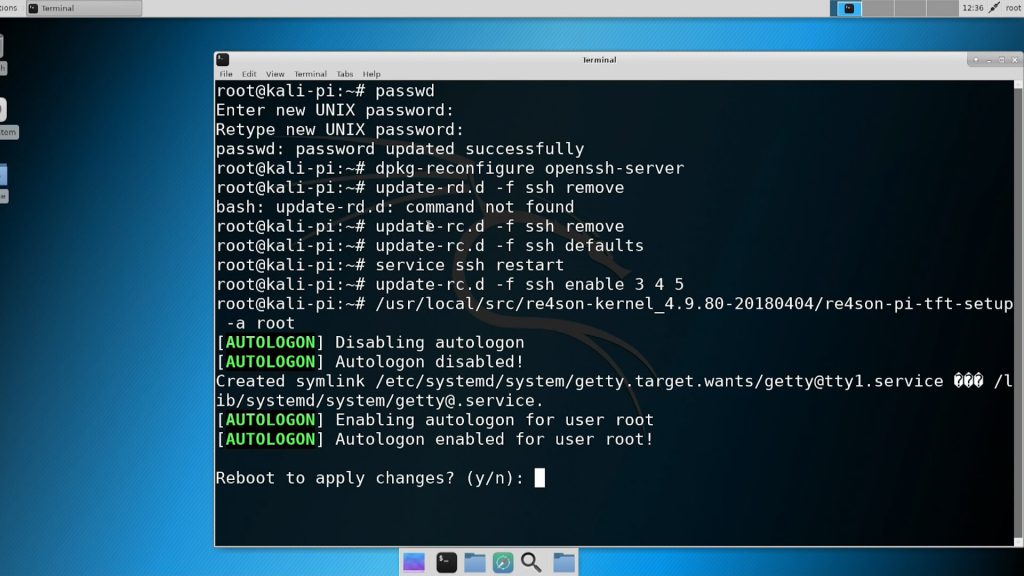
and now we need to enable auto login to kali which is required for ssh to start. This step will require your Rpi to reboot.
# /usr/local/src/re4son-kernel_4.9.60-20180404/re4son-pi-tft-setup -a rootStep 5: Enabling Monitoring mode
Now for the fun!! this image has nexmon patch enabled which allowsfor the onboard wifi controller to use monitor mode, a mode usuallyrequired if you want to use airmon-ng tools
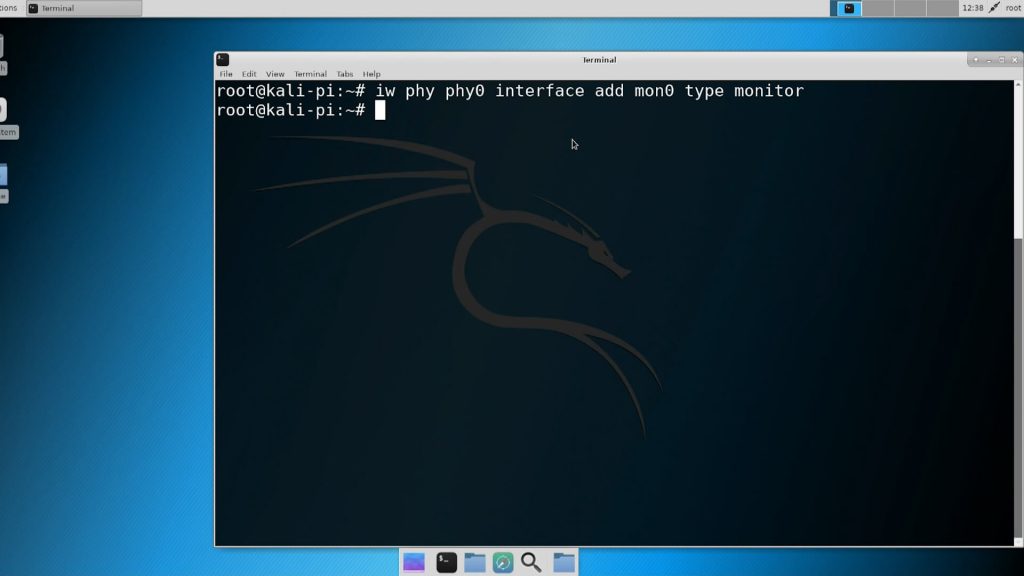
This command below will add a monitor mode interface
# iw phy phy0 interface add mon0 type monitorand to enable the monitor mode type
# ifconfig mon0 upnow your can use your monitor mode!! give it a try with
#airodump-ng mon0




received the pi4 4GB jump start kit. the contents and quality is as described on the amazon. keep up the good quality. thank you very much for bundling all the necessary components to jump start using the pi4.